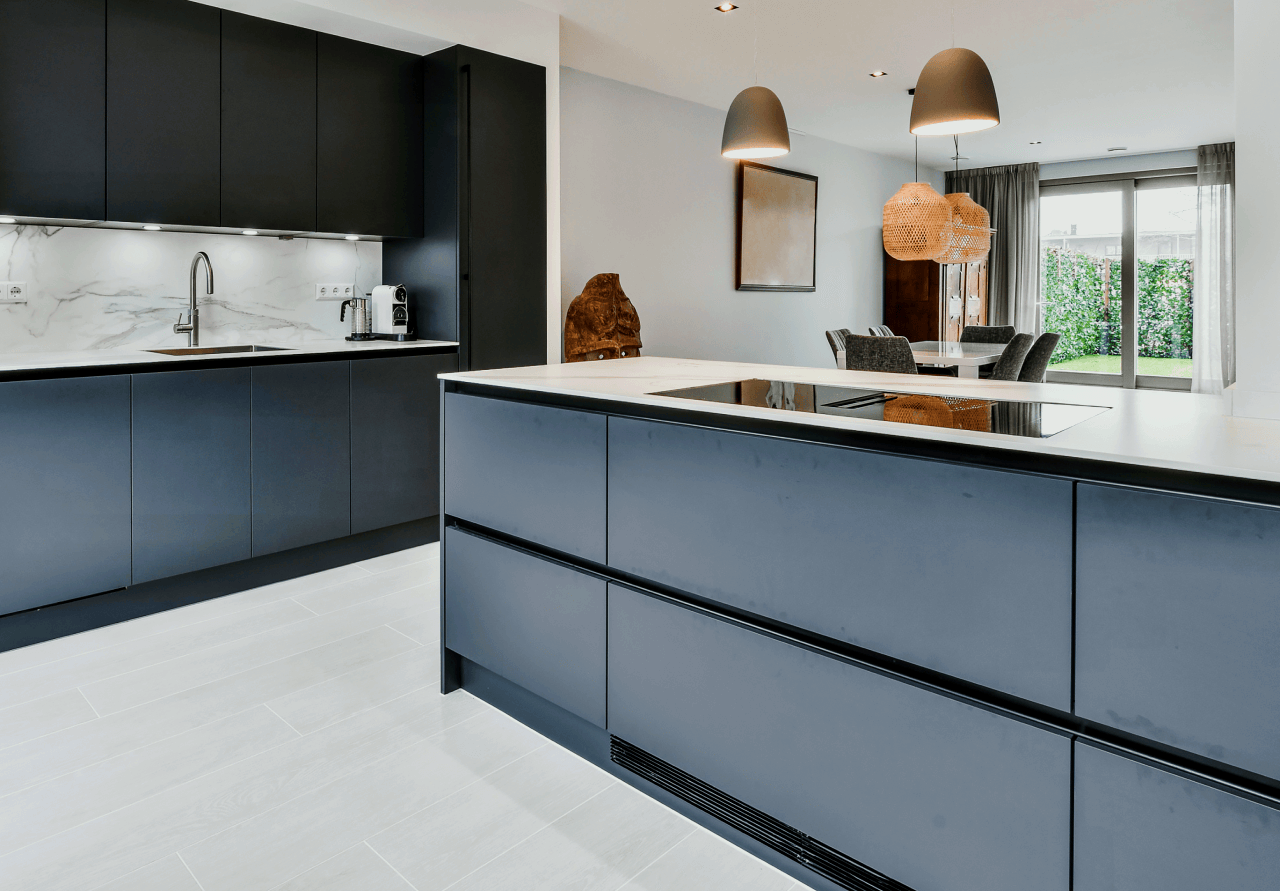

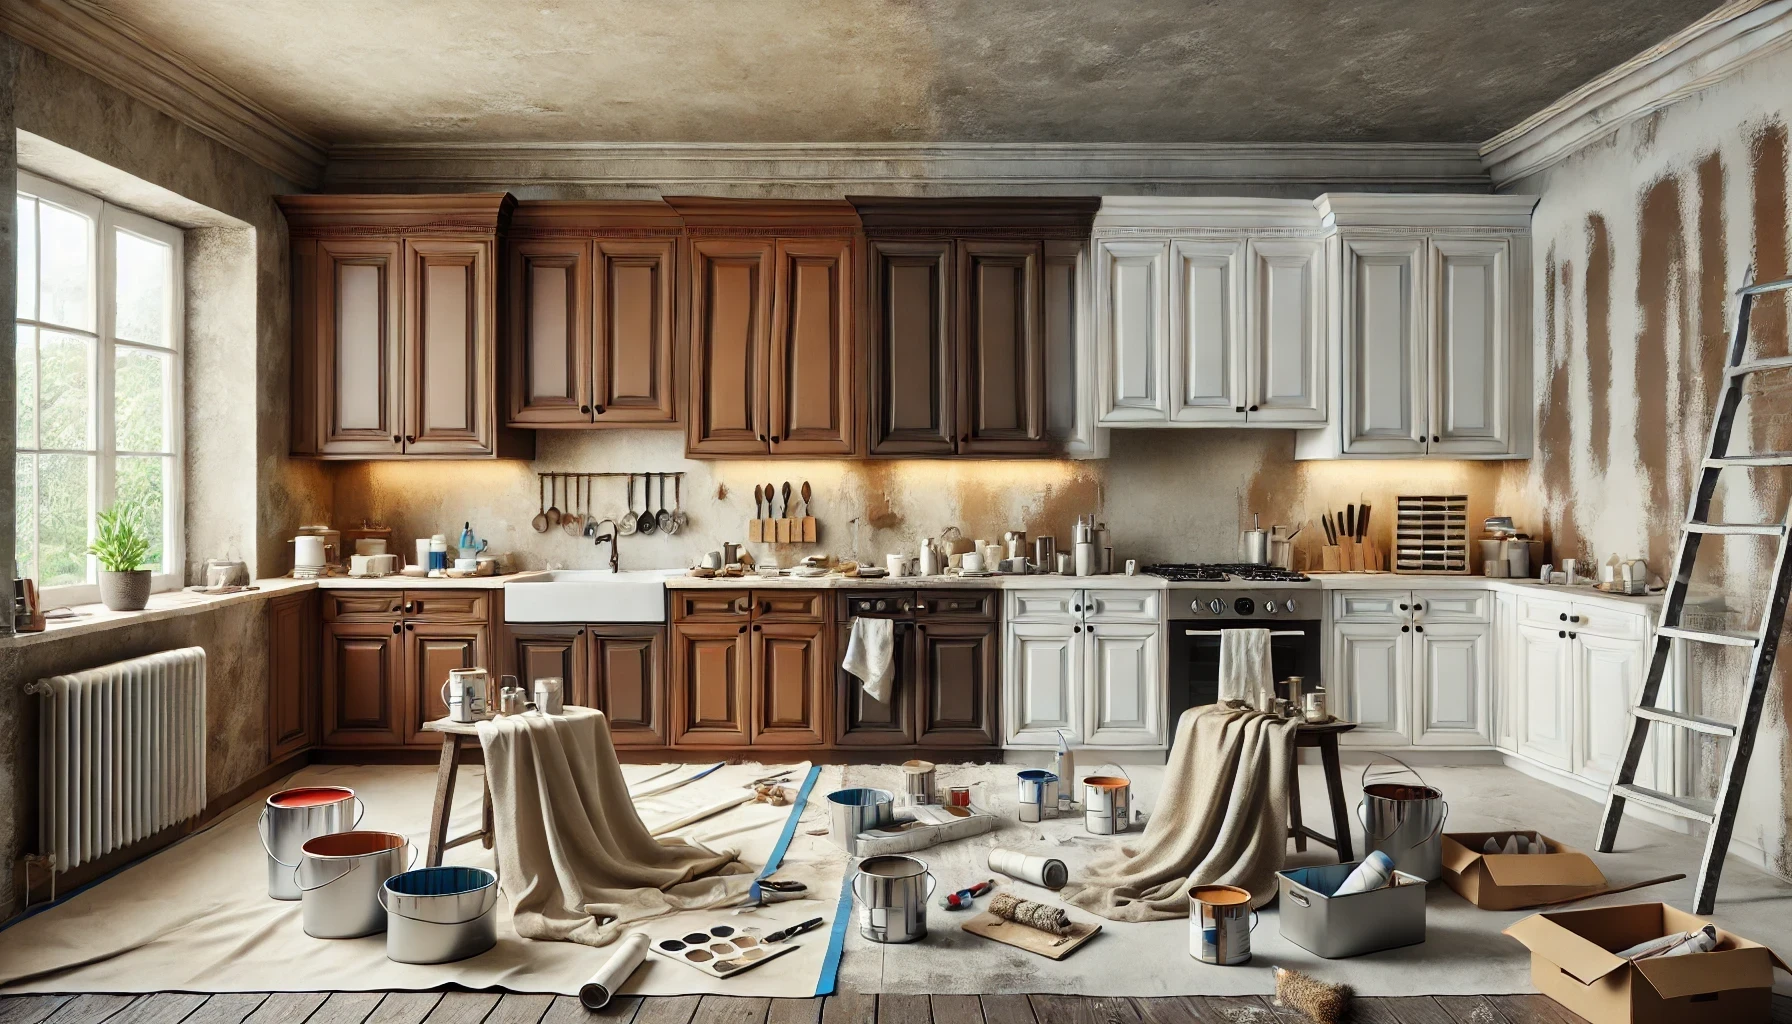
The Best Approach to Repainting Old Kitchen Cabinets
In this article we outline the key steps in applying new paint to old cabinets, with a focus on kitchen cabinets.
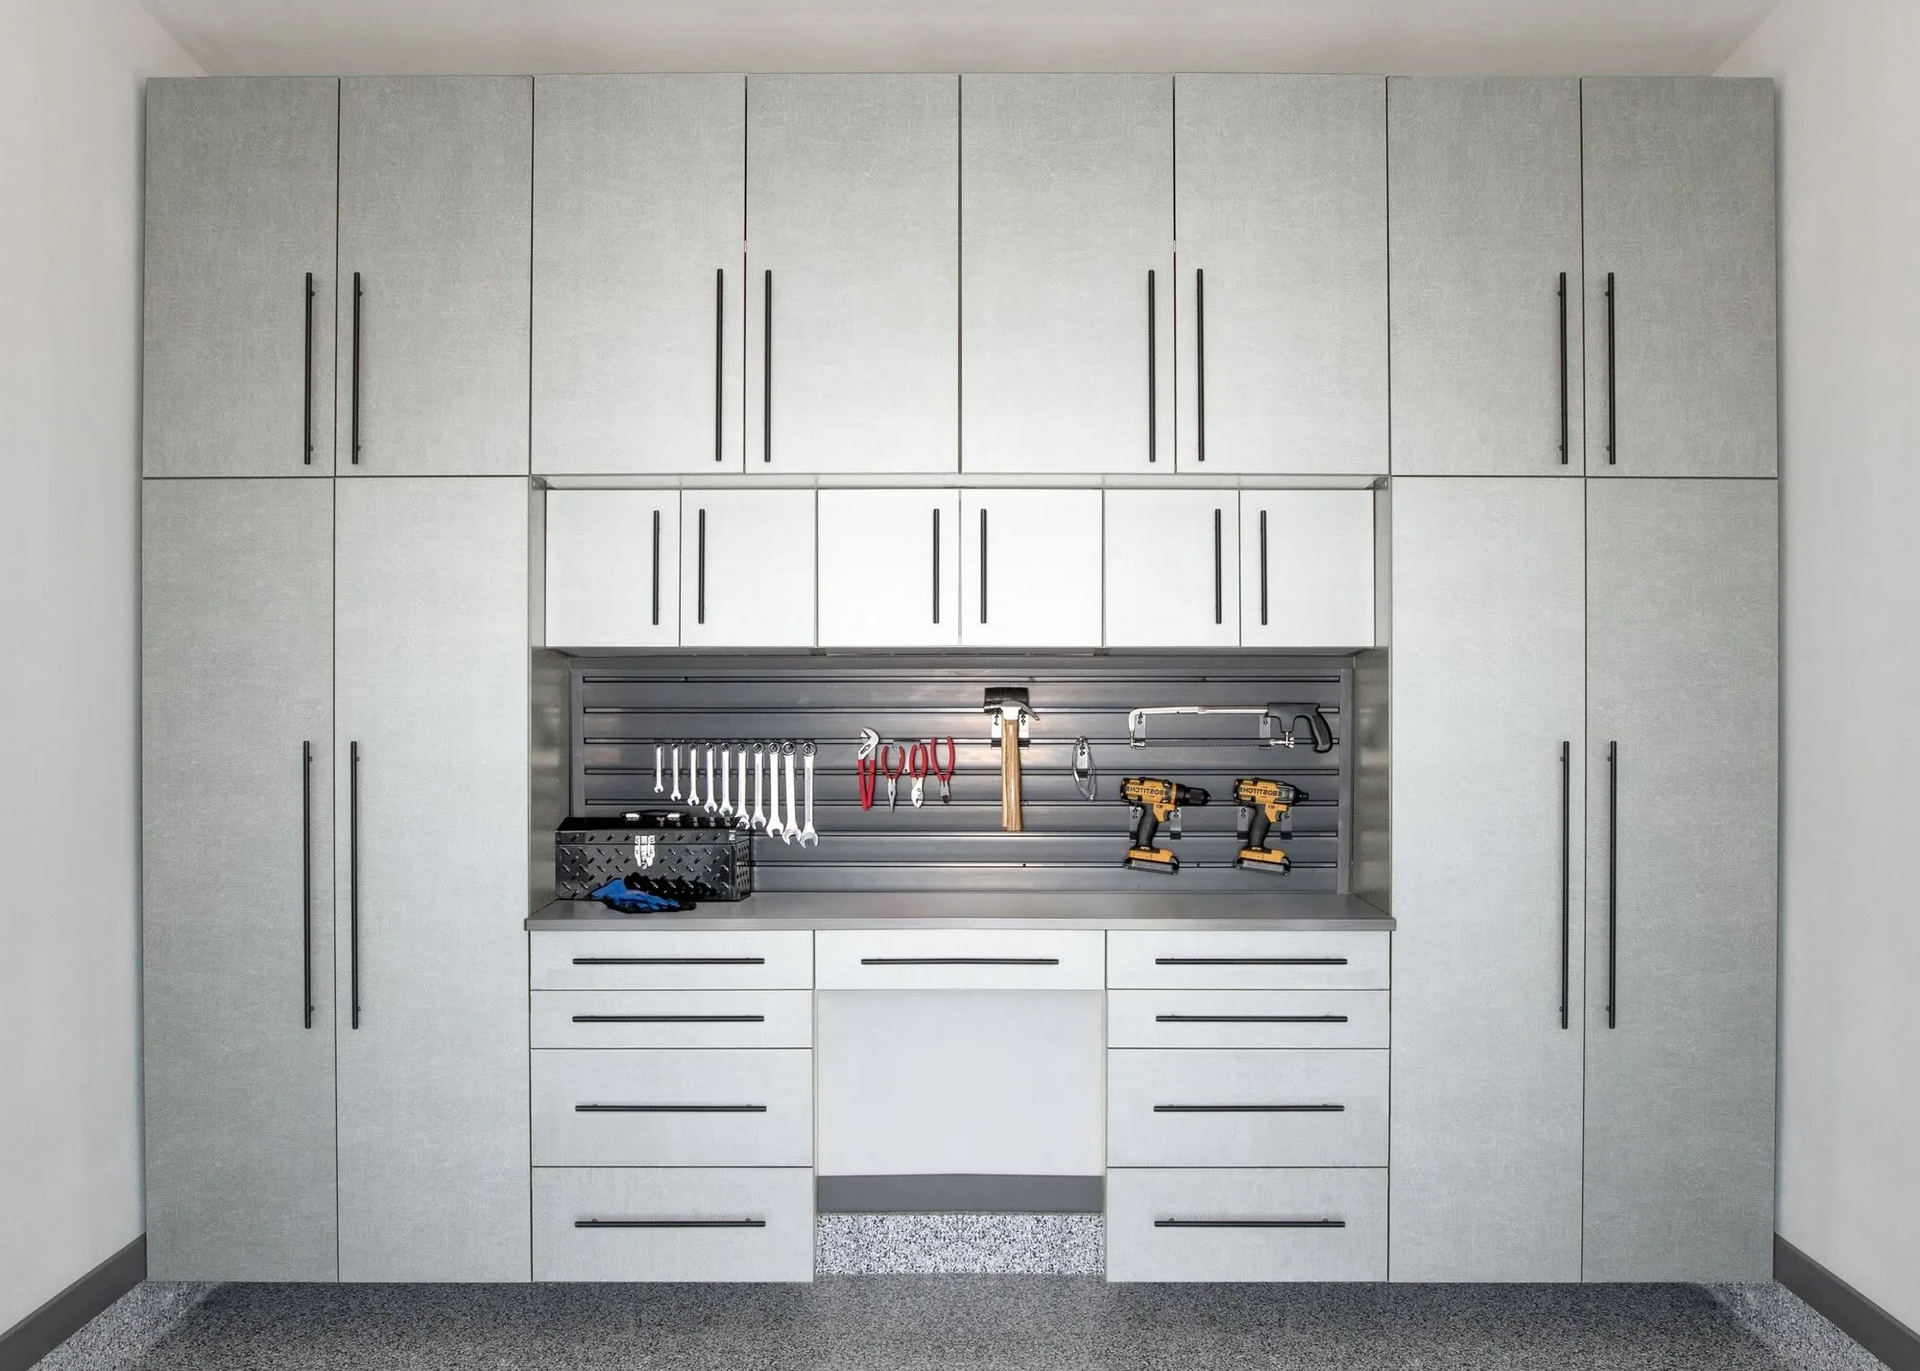
Key steps for painting old cabinets: Sydney Cabinet Makers
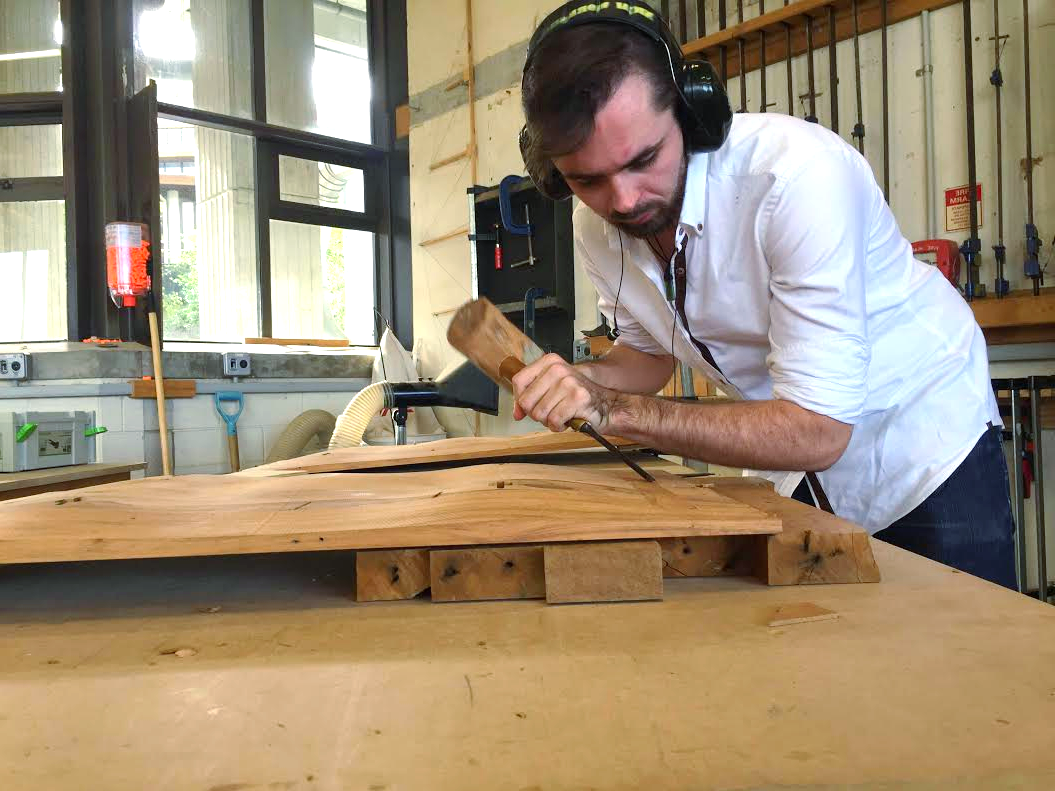
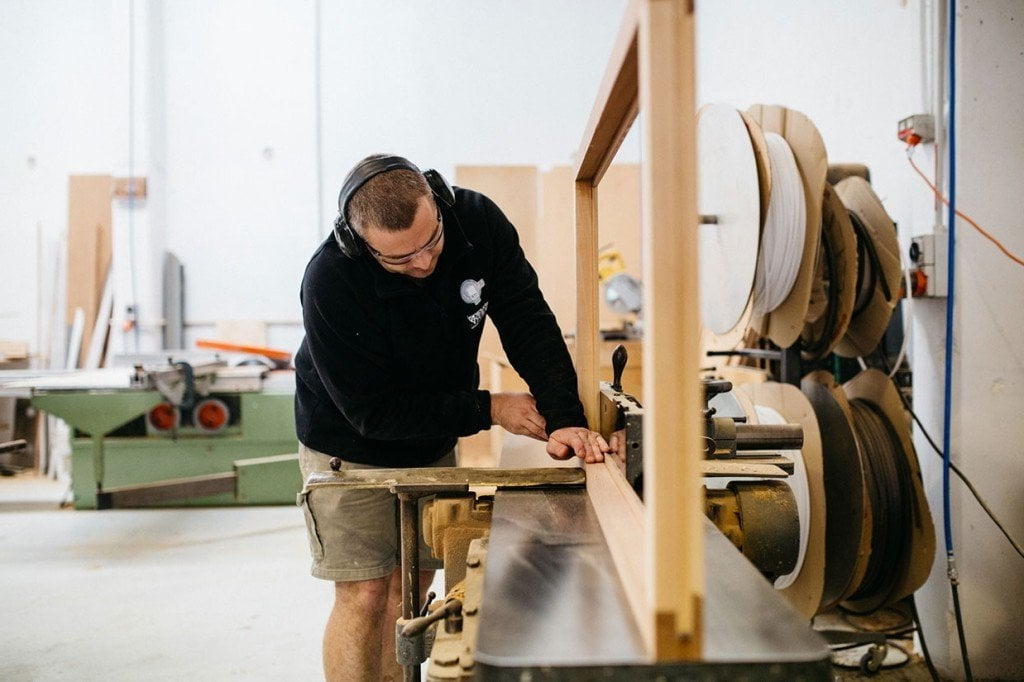
We outline below the key steps for painting cabinets, in order to ensure a professional and durable finish. The main tools you need are sandpaper/sanding sponge, putty knife and wood filler, and paint brushes and foam rollers.
Step 1: Preparation
Cleaning: Begin by thoroughly cleaning the cabinets with a degreaser (such as trisodium phosphate) to remove all dirt, grease, and residues. This ensures that the new paint adheres well.
Removing hardware: Take off all handles, knobs, doors, and drawers. Label each item and its corresponding location with painter's tape to facilitate reassembly.
Repairing surfaces: Inspect for any damages like nicks or gouges. Fill these imperfections with wood filler, smoothing it out with a putty knife. Allow it to dry according to the product directions.
Step 2: Sanding
Using medium to fine grit sandpaper or a sanding sponge, sand all cabinet surfaces. This step is crucial to scuff up the existing finish, allowing the primer to adhere better. Always sand in the direction of the wood grain to avoid scratching the surface.
Step 3: Priming
Apply a bonding primer especially if the cabinets are laminate (see further below), as it helps the paint to stick and enhances durability. Use a paintbrush for edges and corners and a foam roller for flat areas to achieve an even coat. Primer doesn’t need to look perfect; its role is to provide a good base for the paint.
Step 4: Painting
After the primer has dried completely, start painting with a brush and foam roller, similar to the priming process. Use a quality acrylic latex paint for its durability and ease of cleaning. Choose a satin or semi-gloss finish for the best results, as these are easier to clean and less likely to show imperfections than high-gloss finishes.
Apply the paint in thin, even layers, allowing each layer to dry completely before applying the next. This helps prevent drips and streaks.
Step 5: Finishing touches
Once all layers of paint have dried, reassemble the cabinets. Replace the hardware, or consider upgrading to new hardware to complement the fresh paint. Be careful not to damage the new paint when reattaching doors and drawers.
As an option, apply a water-based polyurethane overcoat for added durability and ease of cleaning. This step is particularly beneficial in high-moisture areas like kitchens.
Step 6: Curing
Allow the paint to cure fully, based on the manufacturer’s instructions, before using the cabinets. This might take a few days to a week, depending on the paint and environmental conditions. Proper curing ensures a hard, durable finish that withstands regular kitchen use.
By following these steps, you can transform outdated or worn cabinets into modern, stylish fixtures with a durable finish, enhancing the overall look of your kitchen.
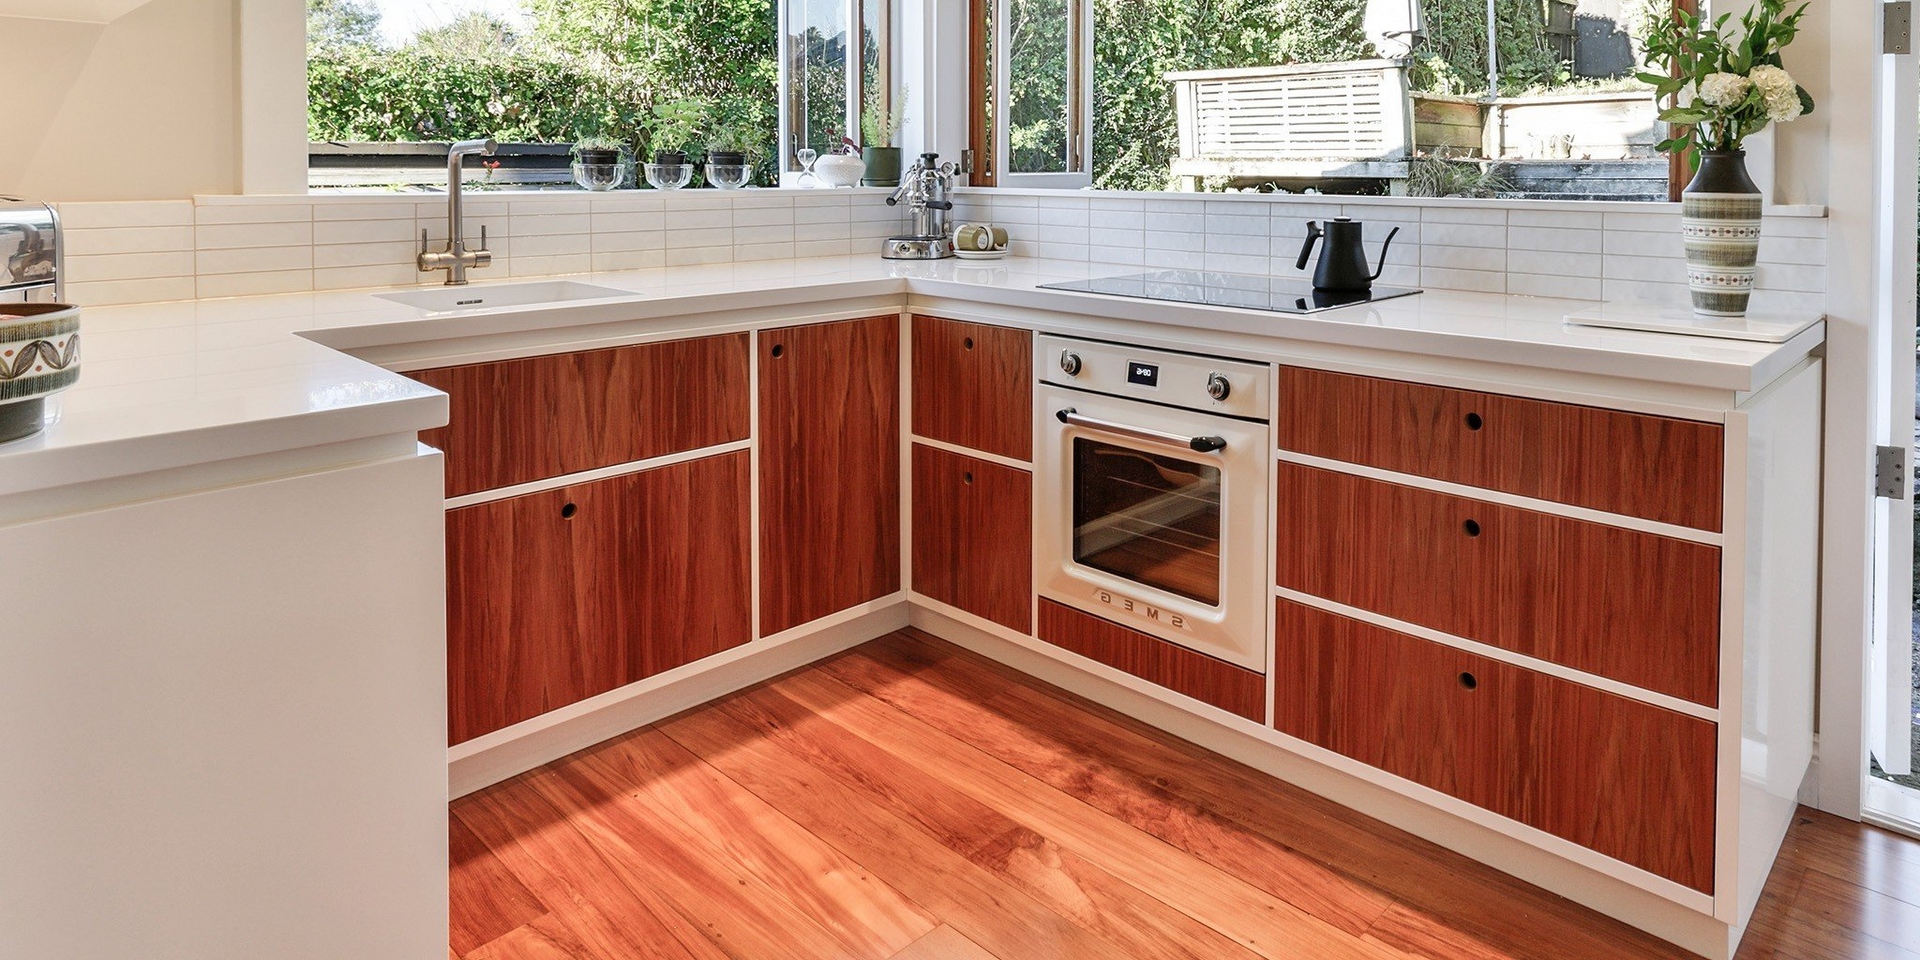
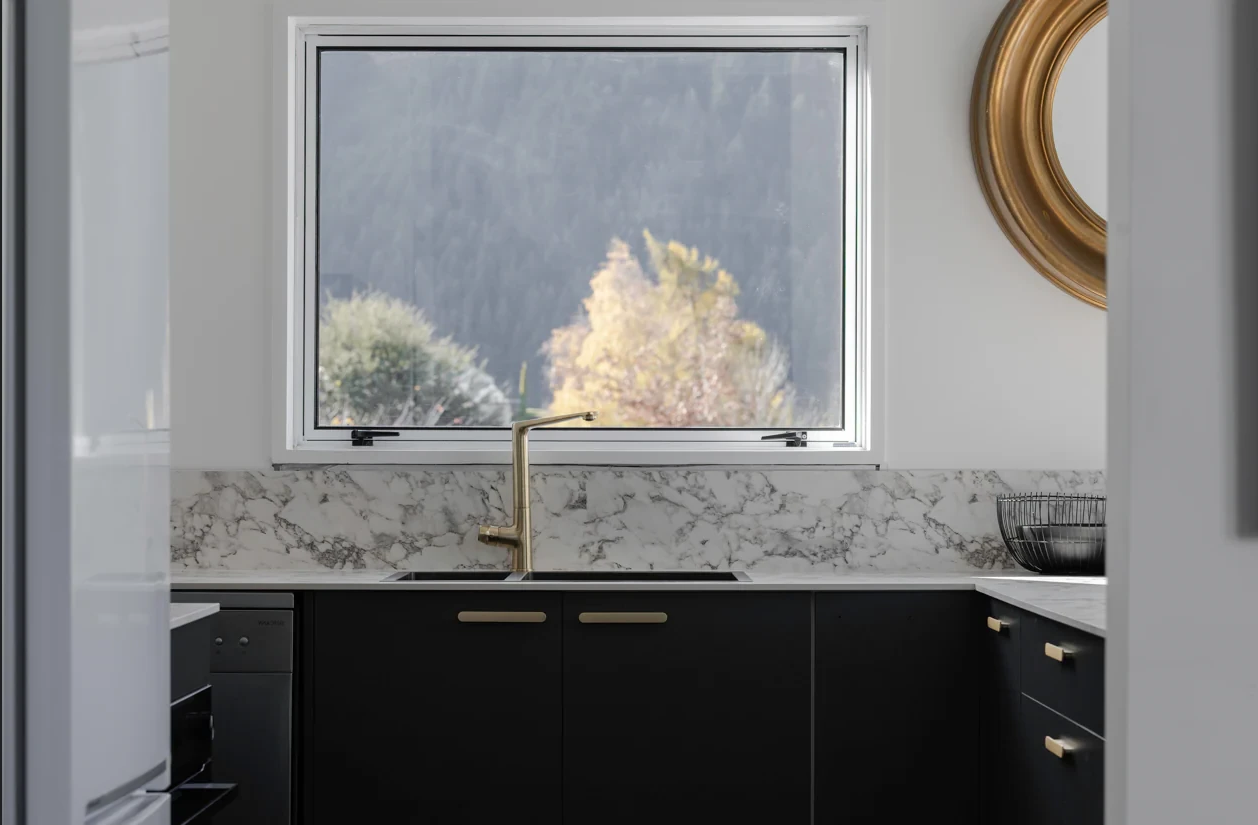
Choice of paint
The choice of paint finish significantly affects both the durability and appearance of kitchen cabinets.
Finishes like semi-gloss and satin are preferred for kitchen cabinets due to their durability and ease of cleaning. These finishes are less likely to show fingerprints and stains compared to high-gloss finishes, which, although highly durable, can accentuate imperfections like nicks and dings.
A satin finish provides a balance by offering a surface that is easier to clean than flat finishes and less prone to showing blemishes compared to high-gloss finishes. This makes it ideal for areas that experience frequent use and require regular cleaning, like kitchen cabinets.
Benefits of using a bonding primer on laminate cabinets
We want to emphasise the importance of using a bonding primer on laminate cabinets as a crucial step for ensuring the paint adheres properly.
Laminate surfaces are non-porous and can be slick, which makes it difficult for paint to adhere directly. A bonding primer is designed to create a surface that the paint can effectively stick to. Without this type of primer, paint applied to laminate cabinets might peel off or chip easily, compromising both the aesthetics and longevity of the paint job. The bonding primer acts as a bridge between the laminate and the paint, ensuring that the final coat is durable and has a professional finish.
Conclusion
If you have kitchen cabinets that have seen better days, you may not need to involve a cabinet maker or completely replace those cabinets. A thorough paint job following the best practices outlined above may just bring those cabinets back to life again, as a DIY project or with the help of a professional painter, without breaking the bank.